How to Prep Walls for Interior Painting: A Step-by-Step Guide
Why Preparation Matters
Even the most expensive paint will look poor on unprepared walls. Proper wall prep ensures smooth coverage, durability, and a finish that looks professionally done.
Step 1 – Clean the Walls
Wash with mild soap and water.
Remove grease, dust, and cobwebs.
Step 2 – Repair Cracks & Holes
Use filler or putty to patch holes.
Sand repairs until smooth.
Step 3 – Sand the Surface
Light sanding improves paint adhesion.
Removes bumps, old paint flakes, and imperfections.
Step 4 – Apply Primer
Essential when switching from dark to light colours.
Provides a uniform base and improves durability.
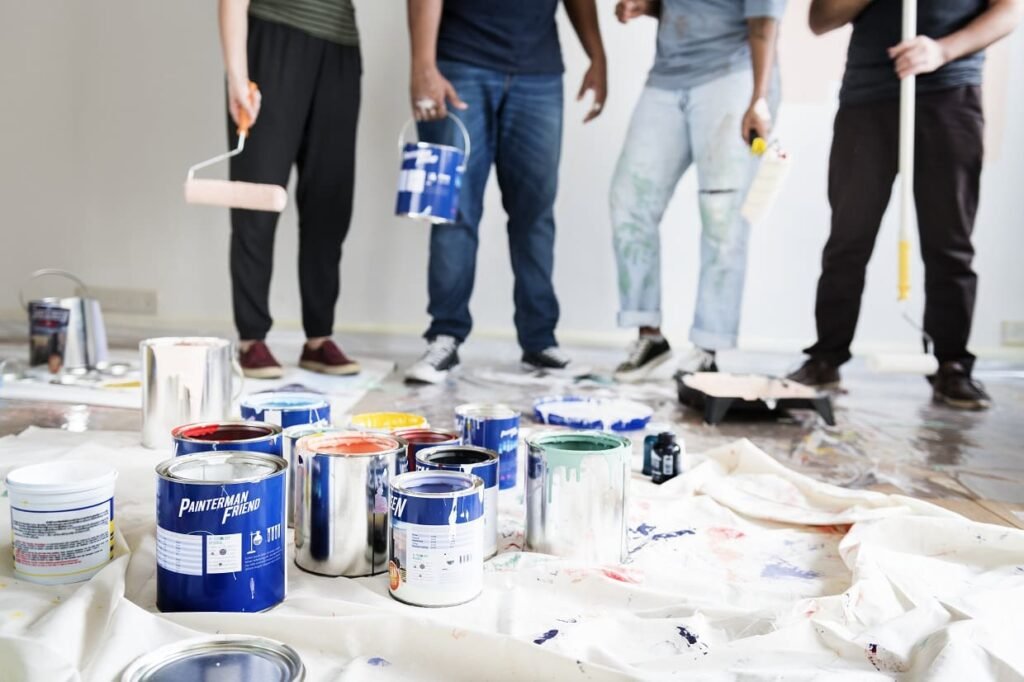
Step 5 – Protect the Space
Cover floors with drop sheets.
Tape around skirting boards, windows, and trims.
Q: Do I always need to use primer?
Yes, especially if walls are stained, dark-coloured, or freshly repaired.
Q: Can I paint over old paint without sanding?
Not recommended – sanding ensures new paint adheres properly.
Skip the hassle and let experts handle it. Contact our Interior Painting Professionals in Wellington for perfectly prepped and painted walls